

Men & Women Have Different Styles of Turban Tying
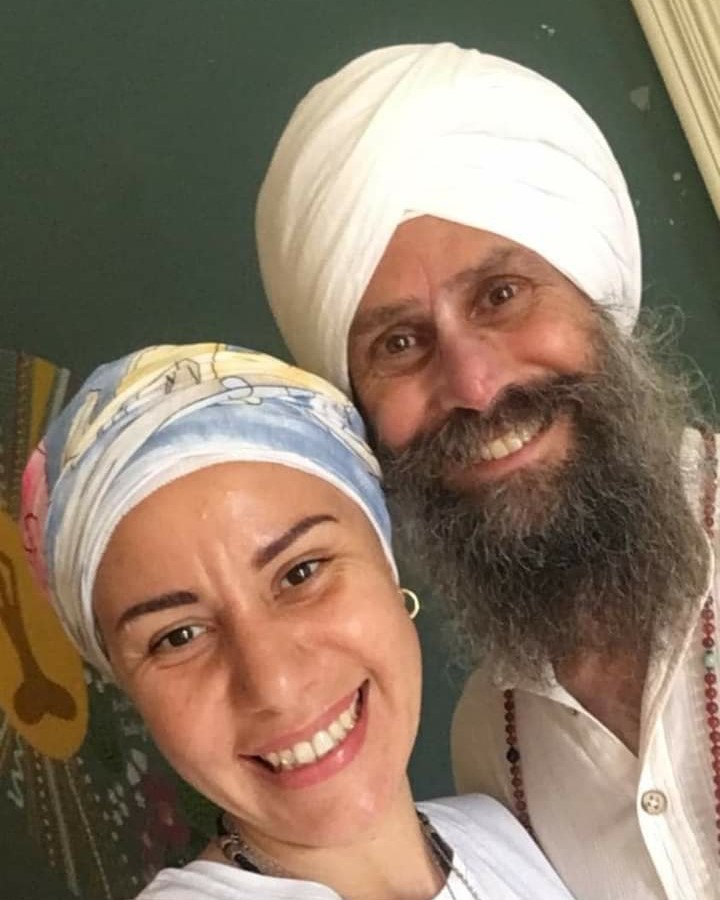
Each provide specialized pressure point support required for the genders.
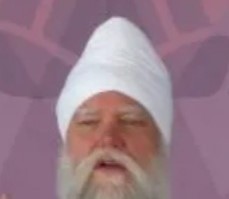
FOR MEN: View 3-step process in Videos with Explanations.
1st Step: Organizing and securing hair.
2nd Step: Wrapping and Securing 1st Fabric, House Turban.
3rd Step: Detailed Wrap and Securing of top fabric. Finished turban is Yogi Bhajan style Turban. Raising energy, Especially for Meditation, Teaching or Public Events.
FOR WOMEN:
If you see a turban you really like ask the person to show you their method. Most people are delighted to demo and share their method.
Here is a method Jaap Kaur adopted from Sangeet Kaur Khalsa. In India 5 people showed Jaap Kaur their methods but none felt natural or tight enough. Sangeet said she had same issue and that Yogi Bhajan taught her how to tie her turban. Sangeet’s method felt the best. Only adjustment Jaap Kaur made was to use a cap under the turban rather than a smaller top cover. The turban grips the cap from the neckline and forehead all the way to the top so the turban stays on better for Jaap Kaur during Kundalini Yoga exercises that lean head downward.
Video coming Soon.
-
Wear knitted caps or bandana triangle cloths from hairline to hairline, cover all hair except sideburns. Have cap or bandana behind your ears, a cap may hurt after a time if over the ears. You want either rather snug to activate pressure points.
-
F74 Turban fabric is softer and lighter than anything else. It breathes well too. Lengths may vary according to the style you wear. 12 foot is small, 15 feet medium, and 18 feet long. You can use any length and even a 9 foot for someone who wants to start very small or has a small head.
-
Stretch them on diagonal with someone then fold it. Tough to do it alone. You can hold one end in a drawer or lay it on a bed if absolutely necessary, slow crude method. To fold stretch the fabric and fold in half, let the free ends hang down and shake them out even. Fold in half again and again until it is the width you like to work with 3 to 7 inches with 4 or 5 inches typical.
-
One person hold and other one fold over as you roll it up, keep it tight. To wash it spread it out completely and hand wash, rinse well. Place a towel across the shower rod and stretch the turban across it. If it is too long fold it or overlap it. Stretch gently to smooth out any wrinkles and when you are done there will be no wrinkles, so it will stretch and roll easier. Never fear, if it is crinkled you can stretch it out as you wrap it by pulling tight. It will dry in about 2 hours. When it is really hot out you can put it on damp and it will be very refreshing.
-
Start with a 4 inch to 1 foot piece of turban fabric over the left side of the head and let the folded edge of the fabric cut across the center of your head at the hairline or barely below. Wrap tightly hugging all the right ear inside and just below the hairline in back to cover all the cap. Cover the left ear next and come up the face to create a perfect V which aligns with the nose. Now wrap in back but smooth out the bottom first wrap and overlap to secure the bottom piece. Wrap it high and when you come to the front the turban is tight and secure.
-
The rest is determined by what style do you like. Predominantly that is a wrap of about 1/2 inch all around and winding up the head. Keep the V’s clean and do not let the second V cross and cut the first V. When you get to the last wrap then wrap it high so about 1/2 the fabric is above the prior wrap. This allows for easy tuck and roll. So angle the last 6 inches to make it look finished and tuck 3 to 5 inches down inside the turban as far as you can tuck it. Tuck it in a way that it won’t create a lump or lopsided turban. Also, in a way you get a really good grip for turban to stay in.
-
Remember Kundalini Yoga is for balance, so is the turban! Where it is tucked deep start “tuck and roll” process and make it smooth all around and the height you like. The cap grabs the tucks and keeps them in better than any other inner fabric I have seen.
-
Varying finished styles–Angle the wraps back as you go for a more swept look or upright for a taller look. You can keep the V’s very even if you alternate the wraps high then low then high again and keep doing that. That technique needs a longer piece of fabric, 15 to 18 feet. It is also a little slower and harder to keep the ends tucked smooth so Jaap Kaur does the fast way described earlier. Longer fabric brings the energy up more and you can use any length or style variation you like.
-
Remember if you see a turban you really like — ask the person to show you their method. Most people are delighted to demo and share their method. When you are done you can put a turban pin on with a nice Adi Shakti that has the middle blade cut through the center infinity circle. Carefully align the turban pin in the center. Really feel the extra boost of the pin. Brings people’s eyes up to your crown and not down below the face.
The turban feels like a face lift and brings energy up as if you just had a 3 hour nap. Really nice at end of the day. Jaap Kaur likes to tie it where the students can watch and it encourages discussion of benefits of headcovers and turbans. They want to try them to see how it brings their energy up too. Bring some extras to share if you have time before class.
When you remove the turban — just lift it off like a hat. Leave flat and the next time you put it on it is already folded for you. Start with the prior tucked section and you will have the other side out, nice and clean.
Text Questions to Jaap Kaur 602 410 4782
